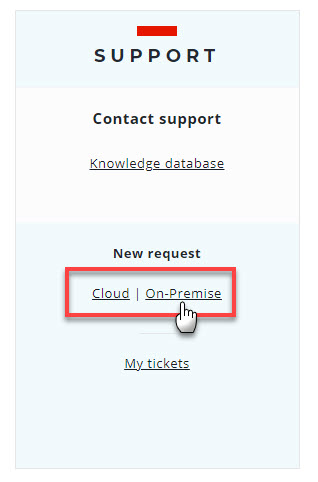
Open a new On-Premise support ticket
To open a new QL On-Premise support ticket, select the On-Premise link on the right.
The MY TICKETS page will open, showing your current QL Server On-Premise licenses.
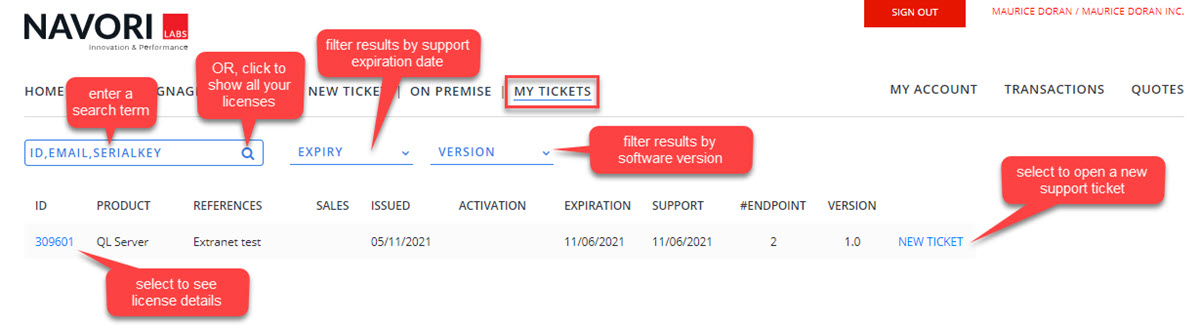
- Use the search engine to find an existing license. To load all your licenses, simply click the search icon.
- The EXPIRY pull-down field lets you filter your results based on the support expiration date.
- The VERSION pull-down field lets you filter your results based on the software version.
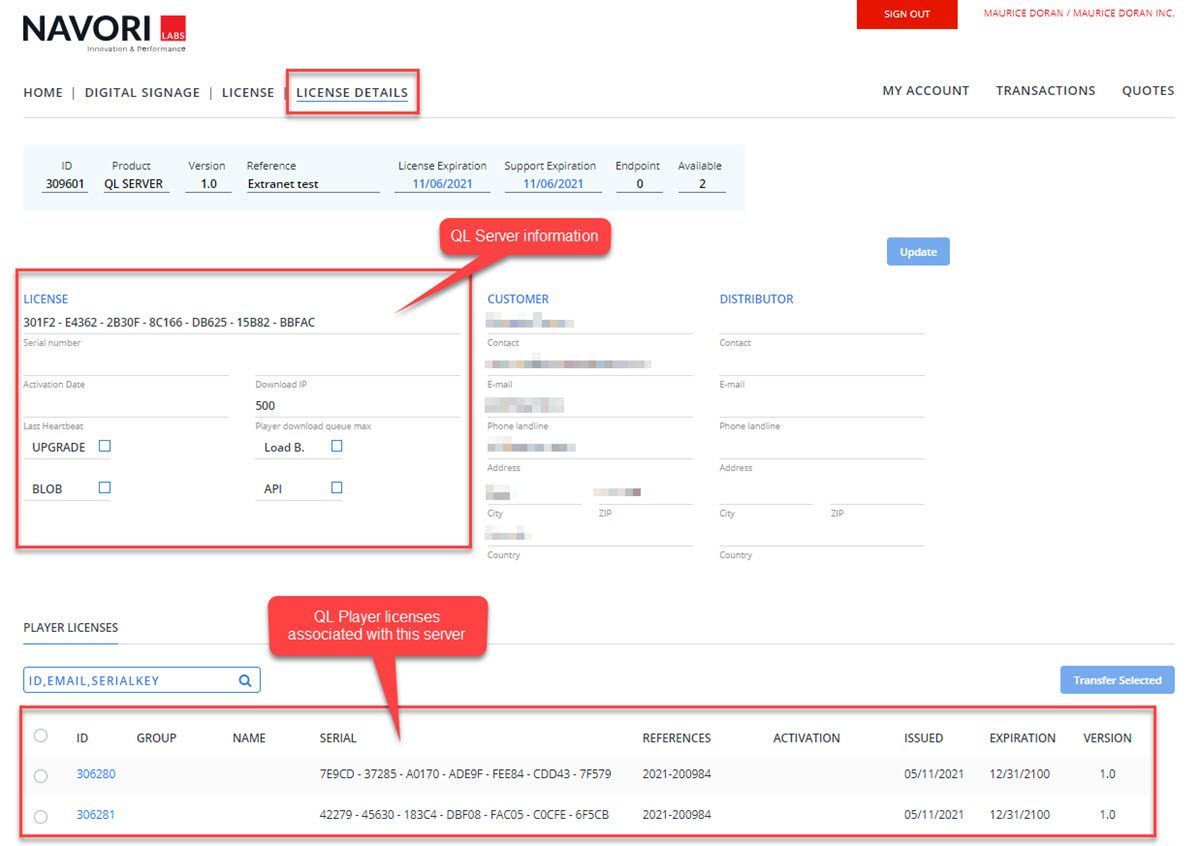
- Clicking a QL Server license ID number will bring up the LICENSE DETAILS page where you can access information related to the QL Player licenses assigned to the currently selected server.
- PLEASE NOTE! QL On-Premise support tickets are always linked to a specific QL Server license.
- To open a new support ticket, you must click the NEW TICKET link in the right column of the MY TICKETS page. You can't open a support ticket from the LICENSE DETAILS page.
Clicking NEW TICKET brings up the NEW TICKET page. This is where you create and send your ticket.
The NEW TICKET page
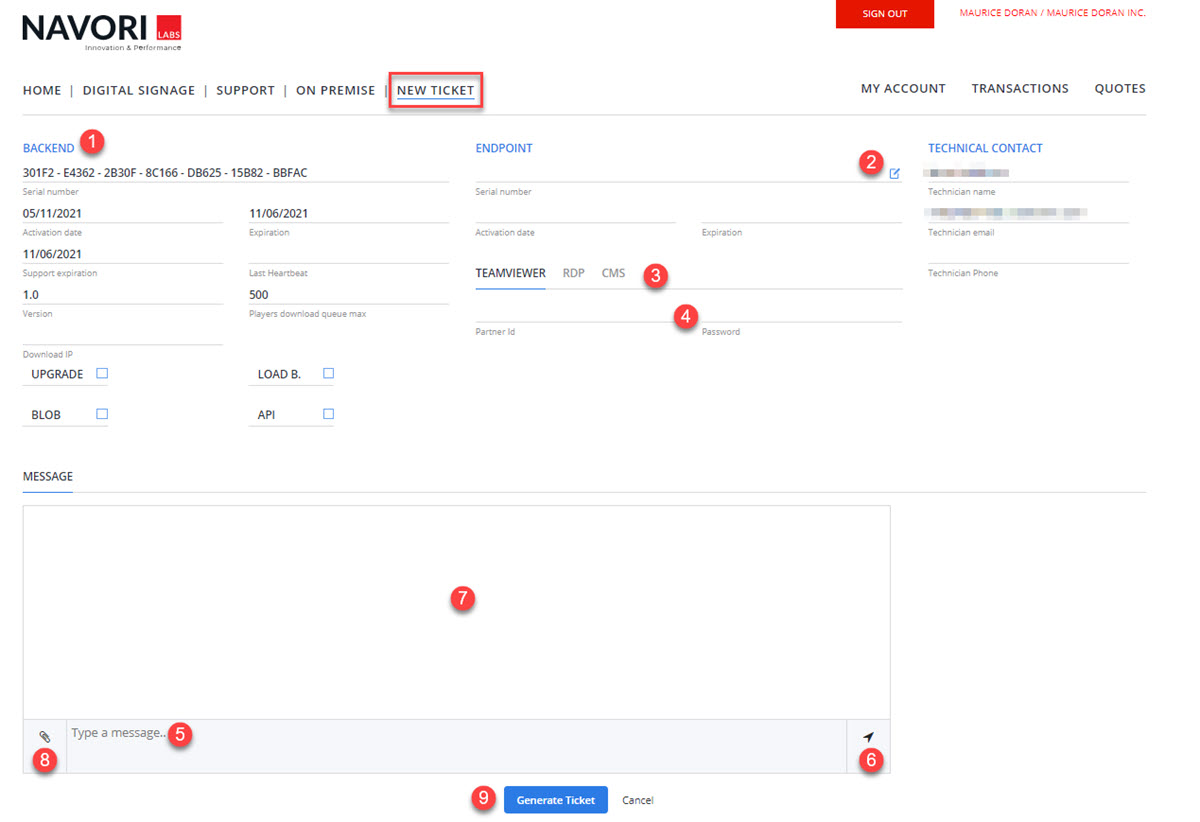
- Displays the information about your QL Server license (back-end).
- Click the Select Endpoint button to bring up a list of QL Player licenses to select from.
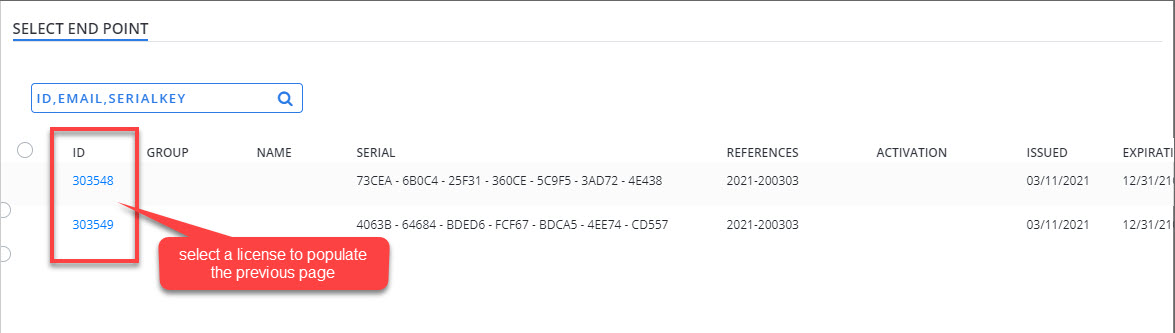
The QL Player license information will populate the fields on the previous page.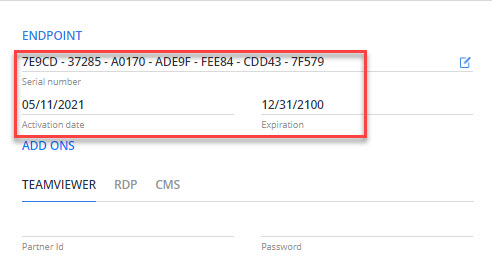
- Select the remote access software installed on the device. Options are TeamViewer, RDP and CMS (Navori credentials).
- Enter the credentials for remote access.
- Type your message in this field.
- Click button to confirm your text message.
- Message appears here. Note you can enter multiple lines of text in the message field and the text will be added each time you click the confirm button.
- Click to attach files to upload screen shots, log files, etc.
- Click Generate Ticket when you are done.
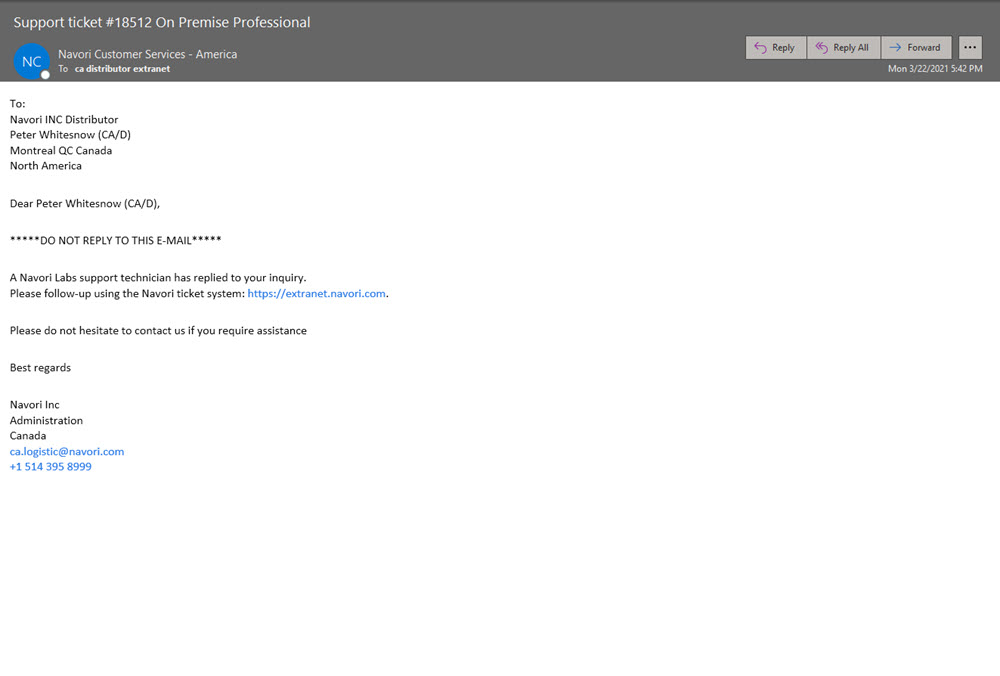
A confirmation message will pop-up on screen.
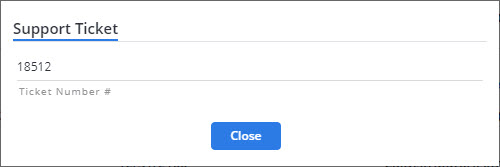
You will receive a confirmation email in your inbox shortly after.